3 Easy Steps to Setting Up a Science Experiment for Kids
Science is the ultimate tool to get kids interested in learning (in my opinion). Science can cover so many subjects and it can be so much fun. When we get into a rut, it’s time to pull out some science.
But I’ve noticed a trend (and I am totally guilty of this too) where we set up science experiments for kids and just let them observe. They aren’t a part of the process, which is pretty much the best part.
I’m 16 months into my masters degree in research psychology and have spent about 60% of that time learning the ins and outs of different experiments and how to efficiently and accurately set them up. That amount of intense knowledge is simply not necessary for a beginners level, but they’ve got to start somewhere, right?
So I thought I’d start with the epitome of science experiments – the double-blind test. What this means is that the participant AND the experimenter are both “blind” to the conditions of the test. Say I was testing a new medication. We would have two groups – one taken the med and one taking a placebo (basically a sugar pill that has no effect). Neither the participant nor I would know which group they were in. This prevents issues arising from our brain tricking us. If I knew who was taking the placebo and who was taking the med, I might subconsciously treat them differently, which would effect the outcome of the experiment.
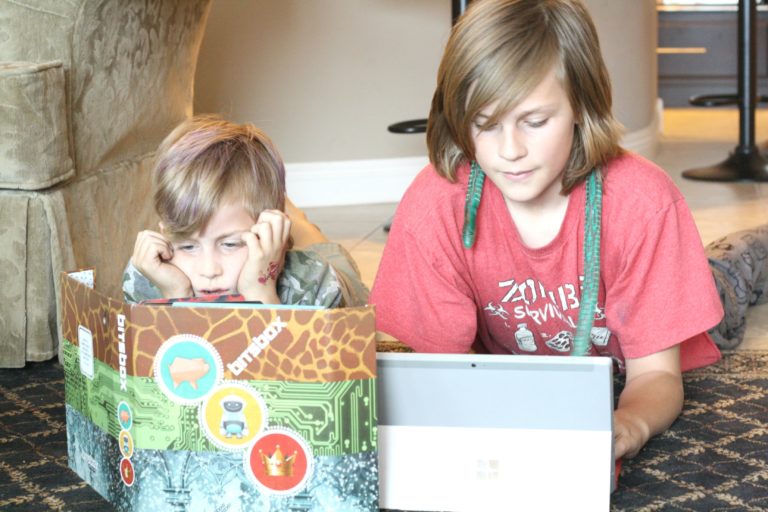
So we did a very simple and relatively boring experiment to illustrate how to set up the experiment. We taste tested water. We had our own tap water (unfilitered and hard), tap water from my parents (unfiliter but with a water softener), and store bought water (Voss water because I really wanted the bottles for other activities…). We filled up 3 identical bottles with the three types of water and I had my husband color code them. I did not know which water was in which bottle. Baloo was the tester and he also did not know.

Ideally we would have hundreds of participants and we would switch the order of the bottles to get a fair view. But this was just an illustration of how to set it up, not an actual experiment.
We tested the water and scored it from 1-5.

He ended up choosing the Voss water. But he said they were really all fine. However we did have a discussion of why it’s important for the double-blind study and making sure there are no confounding variables. Since then, whenever he asks a science-y question, we discuss how we could test it. How would we set up the experiment. Then we brainstorm the holes in our study.
Hopefully he will be designing his own studies pretty soon! And hopefully he starts asking questions with topics we can actually study. Because most of it so far has been what fuel is the best to go the moon…which we just don’t have the funding for.
So, he 3 easy steps.
1. Pick a topic and sort our the variable you are testing (in our case, the type of water), what measurement tool you will test it with, and set the standard (i.e. we couldn’t have some people do score of 1-5 and others 1-10).
2. Plan and write out each step of the experiment. It is important that experiments be replicable (other people can follow your steps to recreate the experiment). Each step, each measurement, etc must be written down.
3. Set up your experiment and make sure to have an impartial person set up the double-blind portion (but have them write it down so you can know afterwards).
Interestingly, when you put water on a counter, the cats become interested. Too bad she isn’t great with numbers…

So that was our first attempt at learning how to set up a scientific experiment. Fingers crossed that we have many more attempts in the future. I could science the rest of my life and be very very happy!!